Among my friends, I’m the de facto outdoor-gear guy. And for years, they’ve consulted me for climbing-gear recommendations, especially if they’re new to the sport and have no idea where to start. I’ve been climbing for a decade and have tested my fair share of beginner gear, both outdoors and in climbing gyms. More importantly, I’ve learned a ton from the rookie mistakes I’ve made, like buying the wrong shoes for the type of climbing I’ll be doing (more on that below) or wearing them on a bike (never do this). If it’s your first time climbing, if you’re looking to introduce someone to the sport, or if you’ve been using smelly gym-rental equipment and think it’s time to upgrade to your own gear, then read on for what you need to make your climbing experience fun and safe. You don’t need much — I’d recommend getting familiar with roped climbing at your gym before investing in your own rope, for example — just a few key items that will be worth your money down the road.
Shoes | Harnesses | Helmets | Belay devices | Chalk and chalk bags | Apparel
Climbing shoes
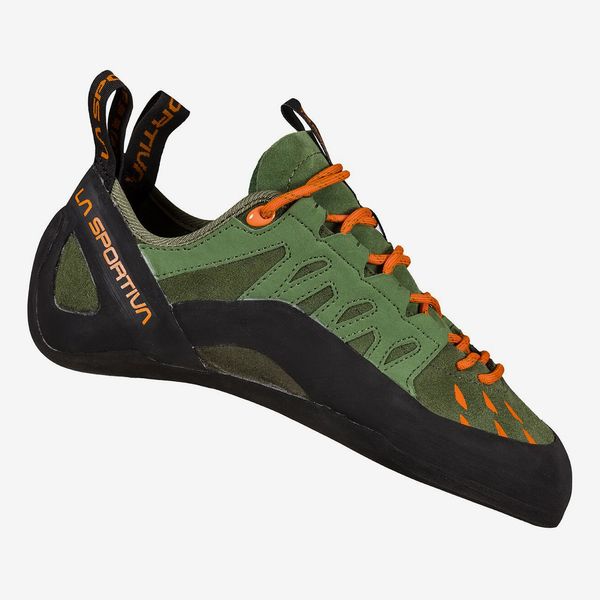
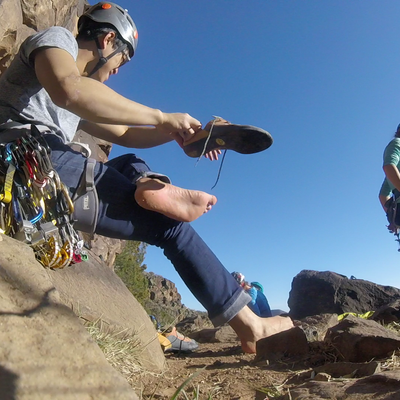
Whenever I recommend shoes to new climbers, I tell them that their shoes should have a snug, semi-firm level of stiffness. Some new climbers buy the softest, most flexible shoe that they try on at REI or the gym. I tell them to pump the brakes. A too-soft, flexible sole could actually hamper their performance: Weaker foot muscles that are new to climbing need more support, and therefore a stiffer sole. I also tell them to look at the shape of a shoe. A flat, supportive, accommodating shape is what you want for a beginner shoe. You don’t want an aggressively downturned shoe (one that’s shaped like an arch, like a claw or talon), which is better suited for steep, overhanging sport routes. You should look for one that will ease your feet into the demands of flexing and curling your foot muscles.
The La Sportiva Tarantulace is a solid, affordable pair that checks all of the above boxes. They were my first climbing shoes, and they held up for about a year of continuous climbing outside and in gyms before I formed a hole through the rubber and I had to retire them. (It’s very common to get climbing shoes resoled, meaning the rubber on the bottom of the shoe gets replaced while the upper construction stays the same. I prefer a service like Rock and Resole, a Boulder, Colorado–based service that allows you to send in your shoes, which then get resoled and sent back to you.) La Sportiva also makes the Tarantula, the same shoe but with a Velcro strap closure instead of laces. I prefer the laces, because it allows me to really dial in the right fit, but the Tarantula might be a better option for gym climbing, where you’ll be taking your shoes on and off more frequently.
For sizing, I normally recommend new climbers start with a half-size to full size down from their regular street-shoe size. There shouldn’t be much room for your toes to wiggle and move around within the toe box. Also: Don’t wear socks.
Climbing harnesses
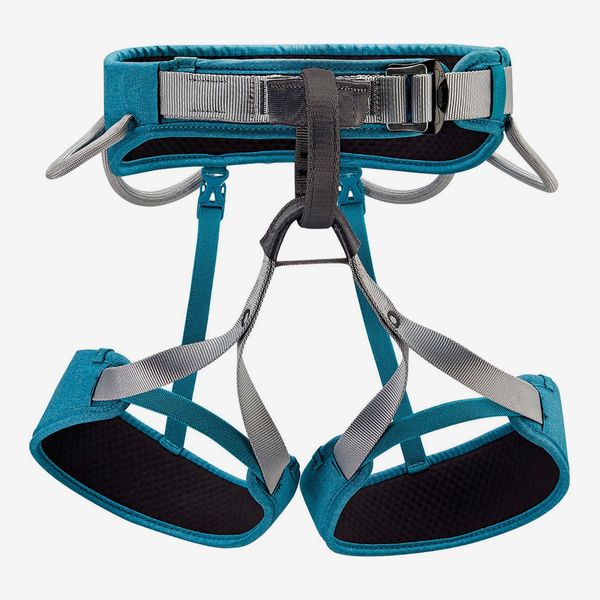
Comfort is my mantra when I recommend any climbing harness, but especially for beginners. You want something that feels plush, which comes from the padding around the waist and leg loops, as well as the thickness of that padding. Harnesses with thin leg loops that provide more acute pressure will make your legs fall asleep if you hang in them for a long time. A good rule of thumb is to look for a wide waist and leg loops.
The first harness I ever bought was a Petzl Corax, and it’s a classic intro harness for the reasons above: It’s simple and megacomfortable. The newer Petzl Corax LT has slightly wider leg loops, which boost the cushion even more. I love my Corax LT for gym climbing and sport climbing, and would recommend it to both beginners and to folks looking for an upgrade with comfort as the top priority.
Climbing helmets
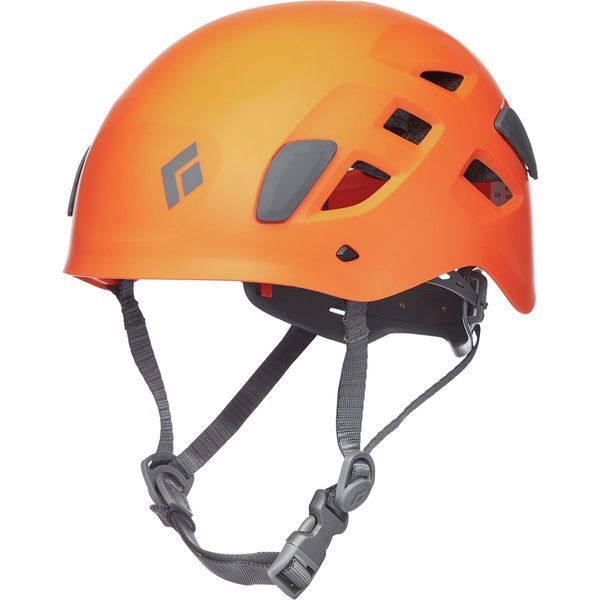
Generally, I recommend getting something that feels comfortable. As with shoes, you should try helmets on in person, because helmet sizing can be inconsistent from brand to brand.
My first helmet was a Black Diamond Half Dome, which I still have and wear from time to time. It’s accompanied me on climbs in Argentina, Chile, Yosemite, the Rockies, and New Mexico, and has held up for over half a decade. It’s a good option for new climbers mainly because of its affordability. At just $60, it’s a great value coming from a reputable climbing brand like Black Diamond, which makes some of my favorite outdoor gear.
Belay devices
Before you get started, do your research and practice the belaying process with instructors at your local climbing gym, or have an expert walk you through it.
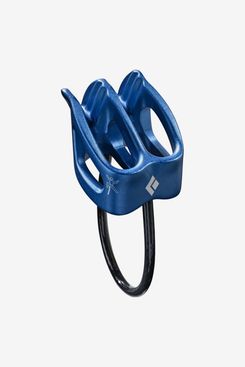
Roped climbing requires a belayer —the person partnered with the climber — who provides the friction on one end of the rope. The belayer keeps the climber safe and prevents them from decking, or hitting the ground with the rope system, which requires a belay device. (Here’s climbing legend Chris Sharma explaining this process.) A Black Diamond ATC is the most common and one of the simplest belay devices on the market. I prefer the ATC XP, which has two sets of friction “teeth” that make holding the rope in the locked position a bit easier. Using any belay device will require a locking carabiner, and if you don’t already have one, Black Diamond makes a carabiner/ATC package that I recommend to anyone who’s starting to climb with ropes. (This package was on my Christmas wish list the year I started climbing.)
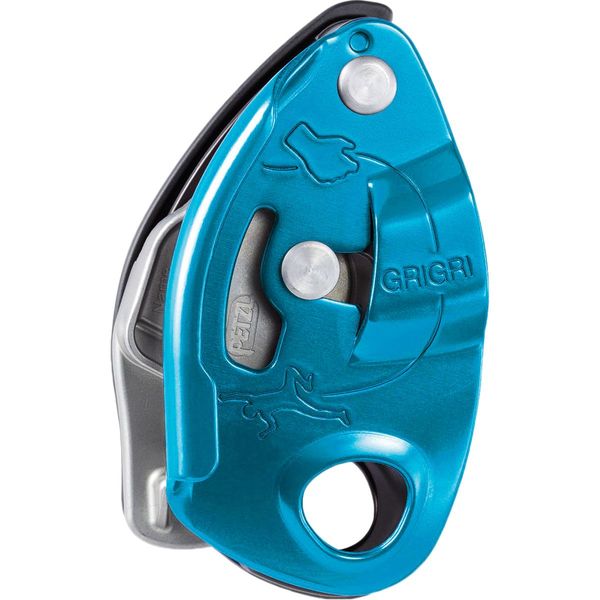
My main belay device for both outdoors and gyms is a Petzl GriGri. It’s just as ubiquitous as the ATC, but the difference is that the GriGri is autolocking, meaning if the belayer were to be incapacitated or for some reason become unable to effectively catch a fall with proper belay technique, the GriGri will “lock” the rope in place when weighted, therefore preventing the rope from sliding through the belay device. Because of this backup safety feature, GriGris are popular, but operate slightly differently compared to traditional belay devices like the ATC. They have a little more room for user error (if you’re lead climbing, for example, it can be harder to feed out rope quickly if you’re used to a device like the ATC, and that can lead to a dangerous climbing scenario). So if you do get a GriGri, make sure you practice using it before giving someone a catch.
Chalk and chalk bags
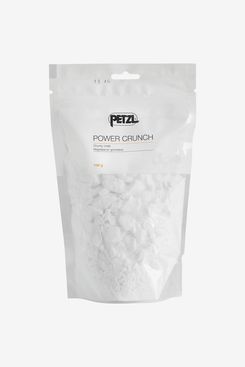
Chalk isn’t necessary for climbing, but it helps your hands grip holds, both outside and in the gym. I recommend a loose magnesium chalk like the Power Crunch from Petzl. It’s inexpensive and easy to use: Just pour it into your chalk bag, crush it down, and rub it on your palms and fingers. Some folks prefer tossing a refillable chalk ball inside their chalk bag, too. You rub it around your hands, and it acts like a net that prevents the chunkier pieces from spilling out.
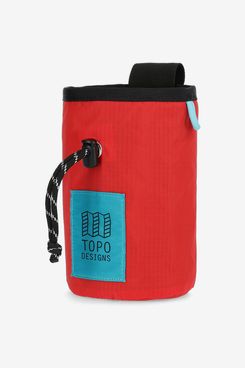
I like to keep my chalk in a bag like this one from Topo Designs. Chalk-bag design and technology generally doesn’t vary that much, besides the sizes they come in. They all usually have some type of cinch closure and a waist belt with a clip. Bigger chalk bags, normally referred to as chalk buckets, are meant to be carried around — like a bucket — for bouldering, from route to route, and not meant to be strapped to your body.
Climbing clothes
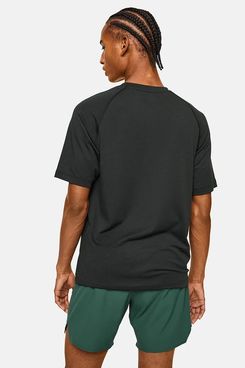
There are many different things to wear while climbing, and they vary based on the season and if you’re climbing outdoors or indoors, but I generally recommend tops and bottoms that offer generous stretch and breathability. Climbing will have you huffing and contorting your body into a ton of different positions, so having the right clothes that can lend a big range of motion — and keep your temperature regulated while doing so — is key. I prefer a loose-fitting, breathable shirt like this one from Outdoor Voices. Depending on the route and your climbing style, gym climbing can feel either like a HIIT session, or a slower, less-sweaty weightlifting session. I like this shirt because it keeps me dry and cool in both scenarios.
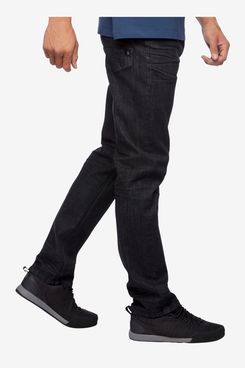
I’ve climbed in this pair of BD jeans for over four years now, and they’ve held up through countless gym sessions and long crag days. They’re built with lots of stretch woven into the denim, so they offer the range of motion that leggings have, but with the discreet look of a pair of black jeans.
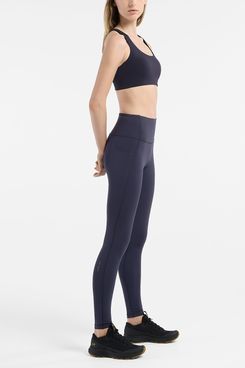
The Arc’teryx Oriel leggings were universally loved by my female co-workers at Outside magazine (where I was formerly an editor) because they offered a ton of stretch while providing protection against rough, unpleasant bushes and thorns they encountered on hikes. The Essent leggings are the newer version of the Oriel, and are built with the same abrasion-resistant nylon and elastane blend.
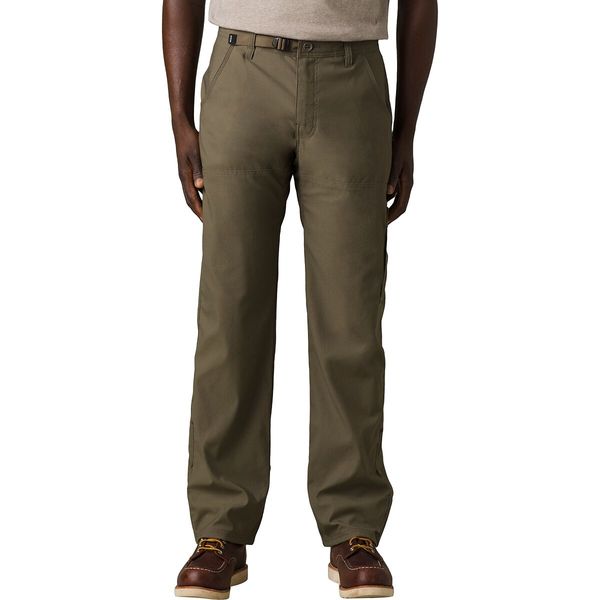
These Prana pants are a classic pair of hiking pants that work well for climbing because of their stretchy, durable nylon blend. I prefer climbing outdoors in these because they do a slightly better job of protecting my knees and legs from scrapes against the rock, compared to pants with a denim build.
The Strategist is designed to surface the most useful, expert recommendations for things to buy across the vast e-commerce landscape. Some of our latest conquests include the best acne treatments, rolling luggage, pillows for side sleepers, natural anxiety remedies, and bath towels. We update links when possible, but note that deals can expire and all prices are subject to change.

