Learning how to make ice cream at home can be intimidating, but if you have the right equipment in your kitchen, you’ll realize it’s not that hard to do it yourself. It’s certainly more convenient than trying to flag down a Mister Softee truck in the middle of August, and according to Jeni Britton Bauer, founder of the beloved Columbus, Ohio–based Jeni’s Splendid Ice Creams, you don’t even need to spend a ton of cash on an expensive ice-cream machine to make super-delicious, high-quality ice cream yourself. So if you’re ready to turn your ice-cream-making dreams into reality, here are Bauer’s essential tools for making ice cream at home.
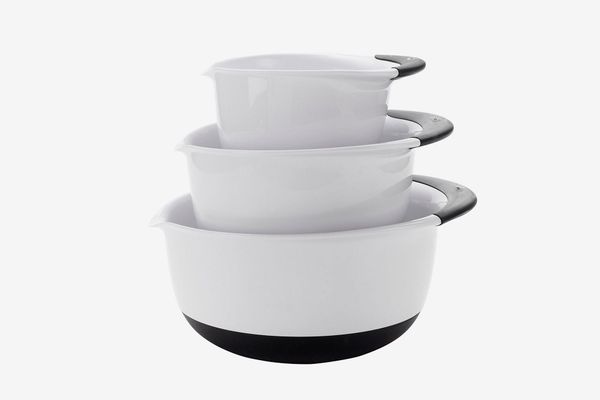
“In my book, I lay out a whole system for making ice cream, just to make it as easy as possible for people because it can seem a little daunting at first — but it’s really not,” Bauer says. “I like to have three mixing bowls, nesting bowls basically, so you have a small, medium, and large bowl. The large one becomes your ice bath,” — which becomes important in a few steps — “the medium one becomes where you mix everything, and in the small one, you mix the cream cheese. And if you have those, it makes my method very easy. So a good set of nesting bowls is good,” and according to Bauer, any material will do. “They can be the plastic kind like OXO or those cute vintage milk-glass ones or Pyrex.”
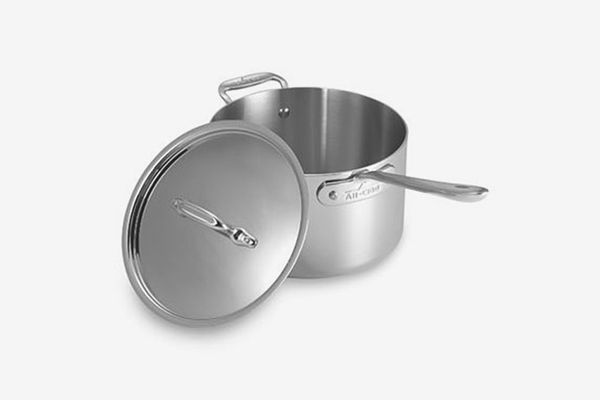
Bauer calls All-Clad saucepan the “gold standard” for making an ice-cream base at home, citing the four-quart model as the “perfect size.” Bauer likes All-Clad saucepans because of their heavy bottom and well-insulated sides, which allow for even heating. That’s especially important when you’re dealing with milk and sugar, which scalds or burns if you’re not paying close enough attention. “If you can’t afford the All-Clad — which is fine, I couldn’t for a long time — just make sure you have a heavy bottom on the pan,” and it’s got a volume of four quarts, advises Bauer.
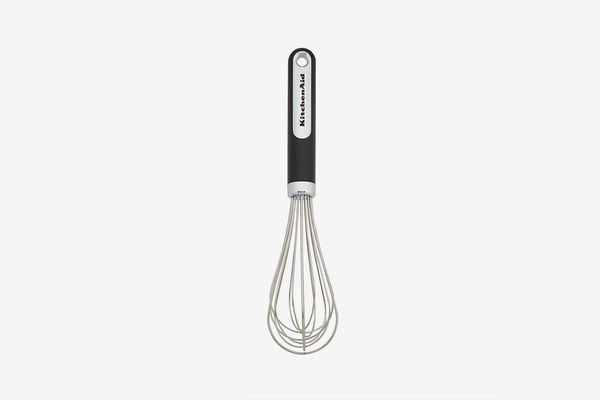
“I add a little bit of cream cheese to my ice-cream base,” says Bauer. “You can leave it out, and it’s still fantastic. But I add just a little bit to give it some body.” And to make this step work, you need to whisk the room-temperature cream cheese into the ice-cream base vigorously, “until it’s super creamy, so it’s really incorporated.”
“An ice bath is important because we want to cool down the mixture really fast.” That’s not just putting the mixture in the fridge, explains Bauer, “but cooling it down, because milk and sugar, when they come together, they can really grow not-great microbes, so you want to get it cooled down really quickly.” The best way to do that is to pour the hot ice-cream base into a heavy ziplock bag, then submerge it in the ice bath you’ve set up in that large mixing bowl. “It cools down in 15 or 20 minutes, so you can get it ready to freeze.”
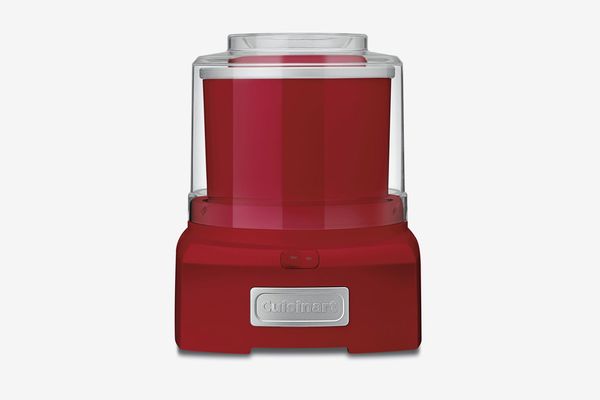
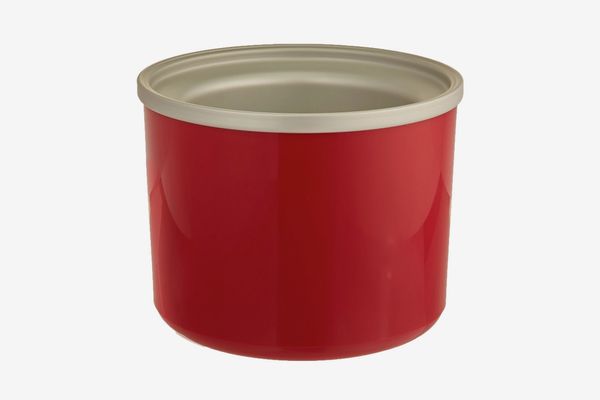
This inexpensive Cuisinart is Bauer’s favorite ice-cream machine. “Everywhere I go, I have one. I’ve got one in my office, my test kitchen, my home,” she says, adding that all of her recipes were developed with this machine in mind. It’s one of the most readily available ice-cream machines, and there’s really no reason to pay more. “Until you jump to over $500 for a model, you can’t get better than this.” But if you want to save even more money, Bauer recommends waiting until summer’s over to get your hands on one. “Winter’s a really good time to buy ice-cream machines, too.”
The one inconvenience about this basic Cuisinart ice-cream machine is that you must freeze the internal metal canister before you can use it, for at least 24 hours. “That sounds like a pain to a lot of people, so some people want to get the countertop model that you don’t have to refreeze the canister. But the problem with those is that the whole housing heats up, and they take a really long time to make ice cream, whereas this canister is super efficient. It’s very cold, and it freezes ice really fast.” Bauer recommends buying extra Cuisinart canisters and storing them in your freezer, especially if you’re making a couple of batches in a single day.
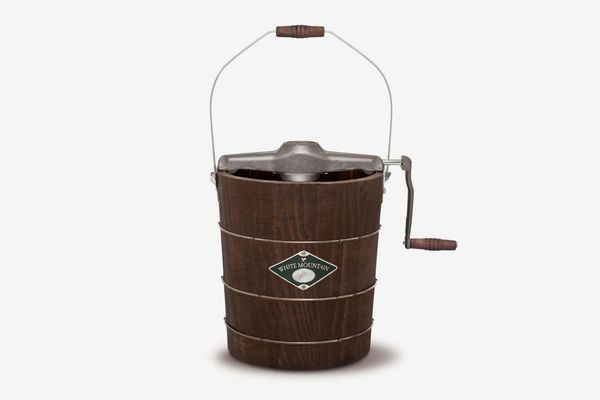
However, if you’re looking for a fun party or picnic activity, Bauer recommends a hand-crank machine, especially because it’s got an interesting history. According to Bauer, a woman named Nancy Johnson created this ice-cream-making technology in the 1840s (though this White Mountain machine isn’t her exact design, even though it uses the same spinning and freezing mechanism). “It’s an example of the same exact technology we use when we make our ice cream on giant machines,” says Bauer. “It’s fun to connect it with that American ice-cream history.”
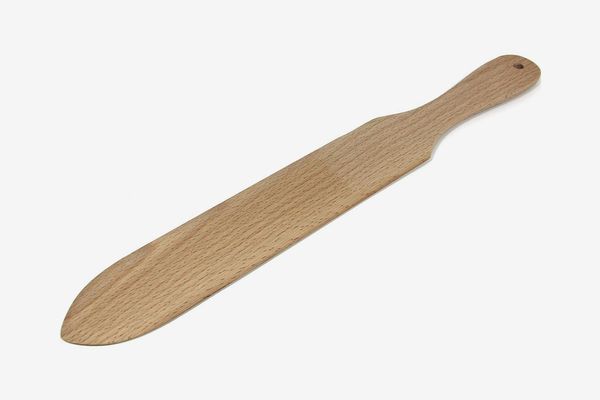
Though it’s designed for flipping crêpes, this wooden tool is the perfect shape and material for pulling freshly churned ice cream out of the machine, says Bauer. “A rubber spatula is too soft, so this wood is the perfect hard material, but soft enough so that it doesn’t scrape the inside of the metal canister.”
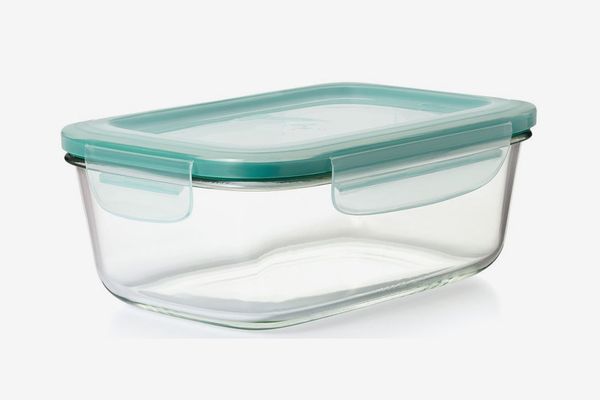
Once you’ve made your ice cream and get it out of the machine of your choice, you’ll want to store it properly in an airtight container because it will oxidize. Bauer recommends a long, rectangular dish rather than a pint or a square because “it gives you a little bit of a runway to scoop, and I like that. So long versus tall. And glass will hold to cool a little bit longer than plastic does, so when you take it out, you have a little bit longer.”
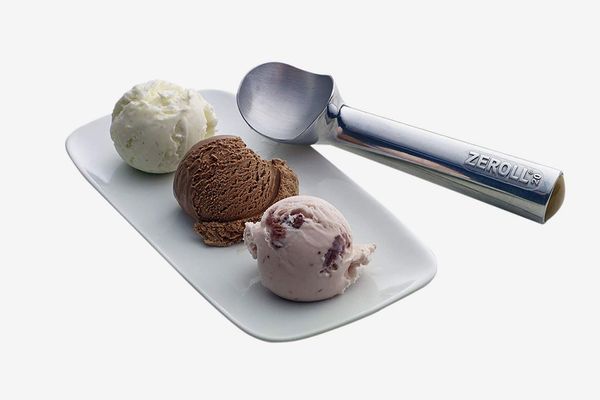
“The Zeroll baller is actually, in my mind, the only ice-cream scoop I’ll even recognize; it’s that important,” Bauer says. “It was a technology invented in the 1930s, in Ohio. But it’s also on permanent display at MoMA in their design department because it’s a great piece of American design.” It’s designed to soften ice cream just enough to scoop, but not enough to turn it into liquid. “It transfers the heat from your hand into the ball, or the spoon of the scoop, and then it just melts just a slight amount of ice cream, which creates glide in the ice cream to allow you to scoop it.”
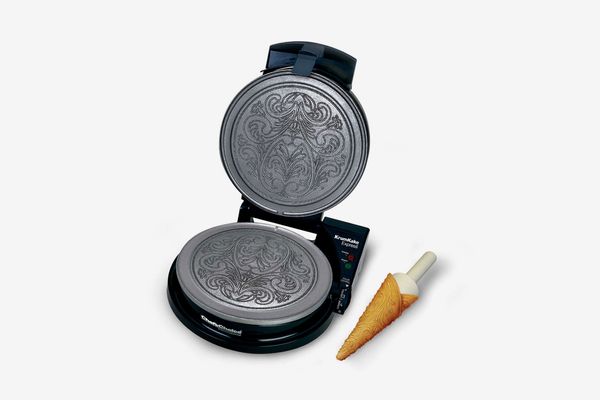
After going through all of this effort to make ice cream from scratch, you’ll also want to have a good cone from which to lick it. And making your own cones from scratch is worth the extra step, especially when compared to the store-bought options, which, according to Bauer, are optimized for sturdiness rather than flavor. “Buying cones, you’re buying cones that can survive shipping, which means they have to be really hard, but when you make them at home, they can really taste crispy and buttery, which is what you want. And it’s very easy, like making pancakes or waffles at home. It takes a little bit of practice to get used to rolling them, but the mistakes are flavorful, and you can eat them and it’s fun.” And when it comes to making ice cream, fun is really what matters the most.
The Strategist is designed to surface the most useful, expert recommendations for things to buy across the vast e-commerce landscape. Some of our latest conquests include the best women’s jeans, rolling luggage, pillows for side sleepers, ultra-flattering pants, and bath towels. We update links when possible, but note that deals can expire and all prices are subject to change.
Every editorial product is independently selected. If you buy something through our links, New York may earn an affiliate commission.

