Artist Janie Korn is known for her wonderful and weird candle creations — everything from a bottle of Kewpie mayo candle to subtly smiling poodles (and custom portrait candles, too — as in, she’ll turn your friend’s likeness into a rather realistic wax figure). Most recently, she was commissioned by the Brooklyn Museum Shop to make candle versions of masterpieces from the collection, including a bust of Andy Warhol and a Tiffany dragonfly lamp. Though creating a wax Tiffany dragonfly lamp seemed a bit challenging for a beginner, we figured Korn might have some beginner-level candles that those quarantined in their homes could take on as their next project. Korn, as it happened, was happy to share some tips with us and walked us through how to make a toadstool candle and a French-manicured finger candle, both of which can be burned, but would look just as nice as decoration for your desk or mantel.
Making a toadstool candle
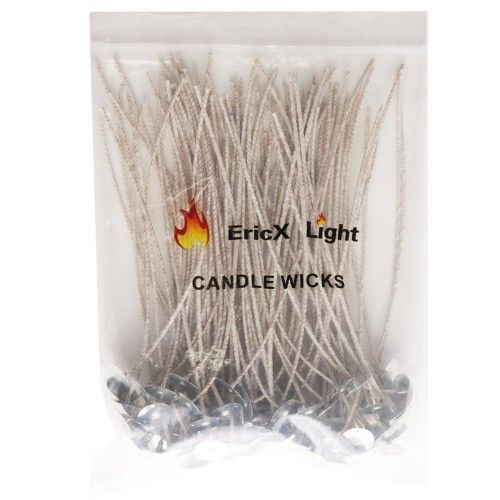
To start, you’ll need just a plain wick, which comes on a metal base. And the first thing you’ll do is cut the wick to size — about an inch longer than you expect the height of the candle to be. I tend to like a longer-hanging wick because of how weird it looks. So, if you want to do it Janie Korn style, you can cut the wick longer than the height of the candle. If that’s not your vibe, I’d say cut it one inch above what you want the candle height to be — for the toadstool, make it about three inches.
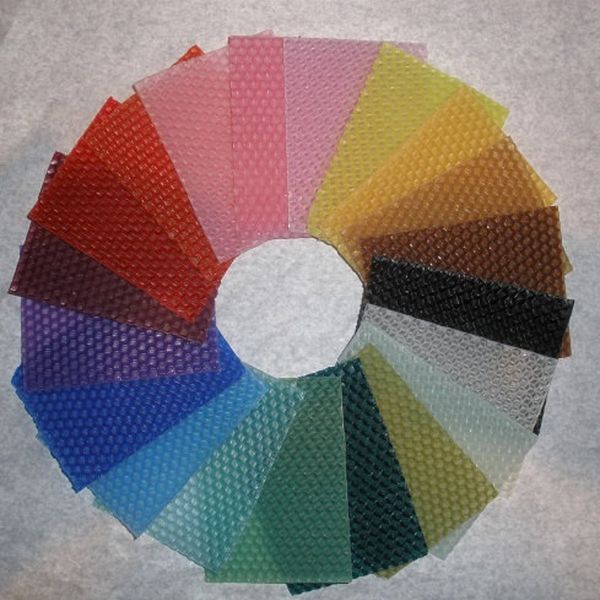
I’ve been ordering beeswax sheets off Etsy because I’m trying to support small businesses as much as I can. For the toadstool stem piece you’ll need to cut a two-inch-by-three-inch square from the white sheet of beeswax, and for the base, you’ll need a one-inch-by-three-inch white piece. For the top of the toadstool, you’ll need to cut a two-inch-by-two-inch red square.
The beeswax becomes malleable when you heat it, which I do with my hair dryer. Once you have your two-inch-by-three-inch square of the white beeswax sheet, start heating the edge with the hair dryer. Place the wick parallel to the warmed edge, and roll the sheet so that it becomes a little cylinder, like the stem of a toadstool. To add a base, take the one-inch-by-three-inch strip of white beeswax that you cut earlier, heat up the edge, and roll it onto the “body” cylinder, so that it creates a chubby base. Then I heat the whole thing with the blow-dryer, and just squish the wax a bit to make the shape more organic.
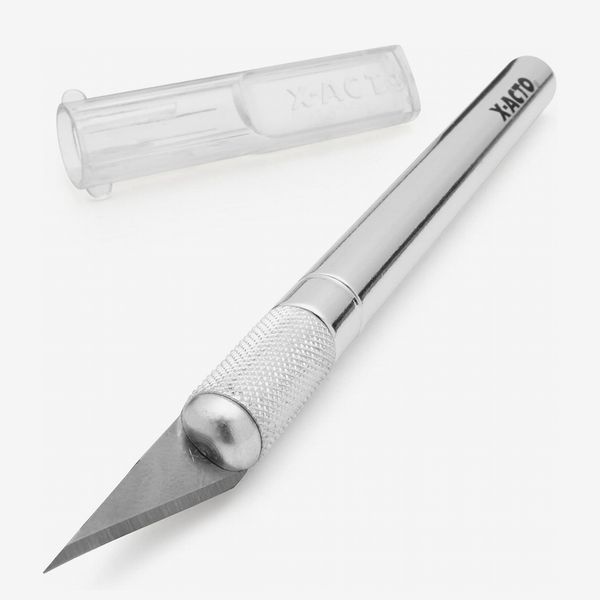
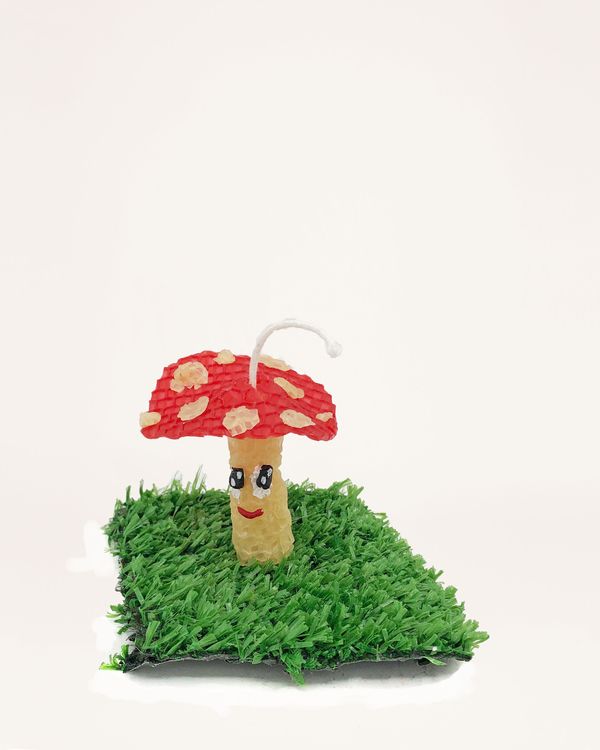
To add the top of the toadstool, take the red two-inch-by-two-inch square piece of beeswax and snip the corners off to give it a more rounded shape. Then, take an X-Acto knife and poke a hole in the center of the red wax sheet (you can eyeball it). After that, you’ll heat up the red piece and slide it onto the wick. Then mold it into a sort of floppy hat shape, while it’s still warm. It should look sort of like the Jacquemus beach hat. Then with whatever white beeswax you have left, you can cut little circles out of the white wax sheet — some can be big, some can be little; there’s no wrong way to do it — heat them up with the hair dryer and stick them onto the red top of the toadstool.
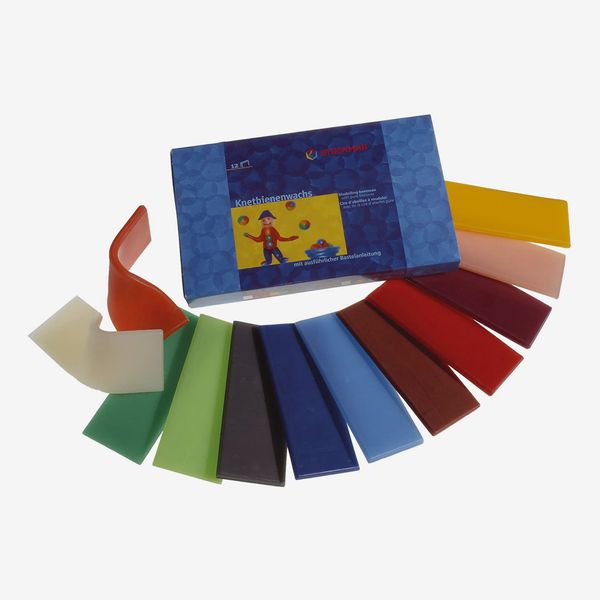
From there, you can leave it as is or add a face to it. I like to use Stockmar modeling clay, which apparently is the clay of choice for Waldorf schools. What I like about the Stockmar is that it’s super smooth, and looks almost like plastic, which gives it this nice glossy finish that contrasts well with the heavily textured beeswax. Just cut the pieces, heat them with the blow-dryer, and stick them on.
I like to display my toadstool on Astroturf. It just looks sort of funny.
Making a finger candle
For the finger, you’ll cut your wick about four inches long, and place it next to the edge of a three-inch piece of beeswax. Then, heat the beeswax and roll it up tightly around the wick (it should be a long cylindrical shape). You can use whatever color wax you want for this — different skin tones, greens, pinks, anything. To make the nail, you’re going to cut a white piece of beeswax down to an inch and a half by a half-inch. Take that rectangle and round it out into more of an oval shape. Apply that white piece about a half an inch from the top of the candle by heating it up and pressing it down. For the pink part of the nail, you’re going to cut a half-inch-by-half-inch piece of pink beeswax, and again, round it out into a more oval shape. Heat that up, and place it at the base of the white piece, so you have that perfect French tip.
Next, you’ll use the hair dryer to heat the whole finger. I like to curve it, so it looks like a naturally bended finger — just squeeze it a bit and bend at the center. Lastly, I either take a bit of the black Stockmar or a little bit of black acrylic paint and do a couple little lines in the center for where the knuckle would be.
The Strategist is designed to surface the most useful, expert recommendations for things to buy across the vast e-commerce landscape. Some of our latest conquests include the best acne treatments, rolling luggage, pillows for side sleepers, natural anxiety remedies, and bath towels. We update links when possible, but note that deals can expire and all prices are subject to change.
