Like other DIY hobbies, including gardening and baking bread, the pandemic has turned mending clothes into an essential skill — and something cool people are doing and posting about on social media. It’s a great way to save money, extends the life of your clothing, and it’s better for the planet. If you’ve never even sewed a button, don’t worry. With the right guidance and a little practice, anyone can patch a hole, hem a pair of pants, or give new life to a coat with ugly, outdated buttons. In this case, that guidance comes from pattern designer and sewing expert Angela Wolf, who walked us through the most common clothing issues you can fix at home and the tools you’ll need to get started.
How to hem pants
Although Wolf says hemming pants is not too difficult, she does recommend practicing on an old pair of pants and different fabrics to boost your confidence before attempting to hem pants that you really care about. The way you hem your pants will also depend on the fabric, she says. Jeans have a short 1/2-inch rolled hem, while chinos, other types of slacks, dresses, and skirts usually have a hem of about 1 inch or 1 and 1/3. Along with your sewing machine or a needle and thread, you’ll need pins to hold the fabric up and an iron (see below) to give yourself a strong crease. Hemming with a machine is easier, but you can hide your stitches better by hand sewing using a slip stitch. Choose a polyester thread that closely matches the color of the thread used on the rest of your pants.
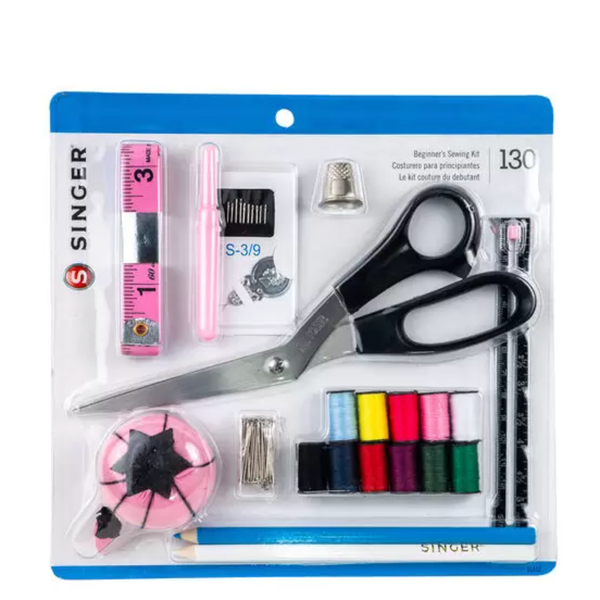
Wolf suggests stocking up on some basic colors of universal polyester thread. This starter kit has a good assortment of thread as well as sharp scissors (Wolf suggests using them only on fabric and thread, since paper will dull them), hand sewing needles, blue and white marking pencils for marking hem lengths, placing buttons, or tracing patterns onto fabric, and a seam ripper, which will be your best friend when you have to pull out a bunch of stitches you messed up.
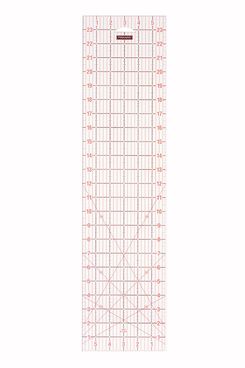
This handy clear plastic ruler makes working with fabric easy. It lets you see everything while measuring or tracing and has 30, 45, and 60 degree line indicators to help cut at perfect angles.
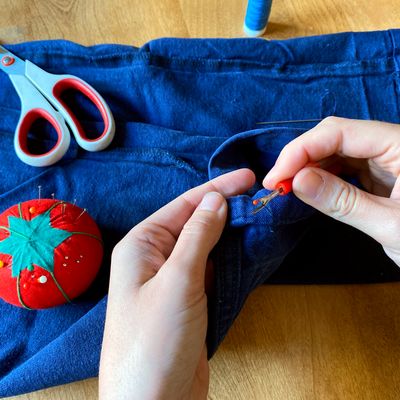
First, put your pants on and mark where you want the hem to be using your blue or white marking pencil (don’t worry it’ll come off with a damp cloth or in the wash.) If possible, have a friend do this, since pants move when you move, and that can make the length you choose less accurate. Measure the length between the crotch of your pants and the mark you made for the new hem using the soft tape measure from your sewing kit. Then take your pants off and turn them inside out. Using a seam ripper undo the original hem pulling out all the extra threads. Unfold the old hem and iron out the creases. Place your pants on a flat surface and mark the new hem length based on the inseam measurement you just took. Draw a straight line across the flat pant leg with a ruler.
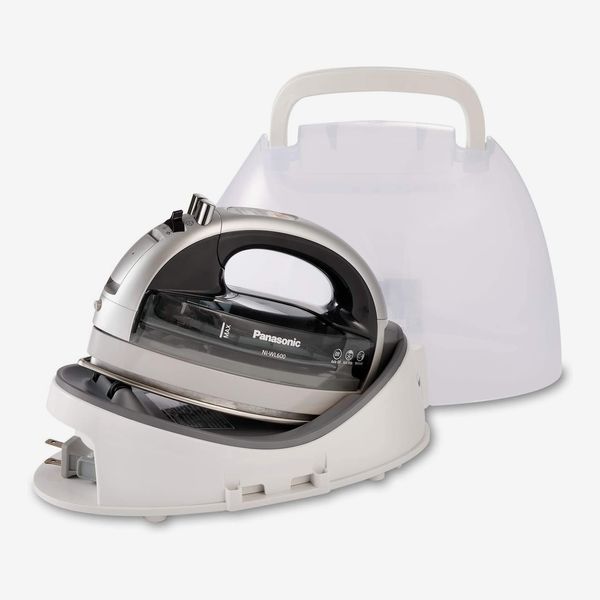
“Pressing helps make your sewing projects look more professional,” Wolf says. It will also help hold your folded hem in place so you can keep your hands more free to focus on stitches. Wolf learned about this portable iron from a friend who does a lot of costume work for Dancing with the Stars. She recommends it because it’s not very expensive, and there’s no cord to worry about.
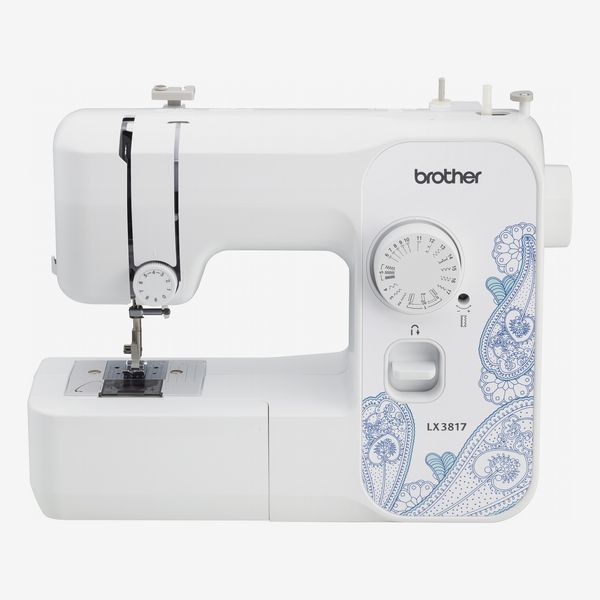
You can sew your hem with a sewing machine or by hand. One is faster, but the other can be done while sitting in bed watching The Great British Bake Off. For the former, Wolf recommends this budget-friendly beginners model, which comes with a bunch of different stitch options and attachments for sewing other stuff like buttonholes or zippers.
Cut off excess fabric leaving yourself an inch and a half of extra fabric to make the hem. Fold ¾” of fabric up from the bottom and iron it flat. Repeat this step folding another ¾” up and ironing flat creating a double fold. Pin vertically in place, so you’ll have an easier time removing pins as you sew, all the way around each pant leg. If you are using a sewing machine load your bobbin and thread and set the machine to a straight stitch. Using a ¼ inch seam allowance from the top of the hem sew all the way around removing pins as you go. When you reach the beginning sew a few stitches back and forth to lock it in place. Remove from the machine and trim the excess threads. Iron hem flat. Repeat on the other leg.
To sew a hem by hand, start by inserting your needle into the pant leg’s side seam allowance (the part that sticks out from the inside seams) where it meets your hem leaving a tail. Tie the tail and the beginning part of the thread into a knot. Using a slip stitch, sew around the whole hem inserting the needle first into the back of the folded edge, through the front a ¼ inch down, and then catching just a few threads of the pant leg to create a series of loops all the way around. Finish off with a knot and iron flat. You will only see very minimal thread marks on the front of your pants. If you want a visible seam sew an additional straight stitch a ¼ inch from the top of the hem using a line drawn with your marker pencil as a guide.
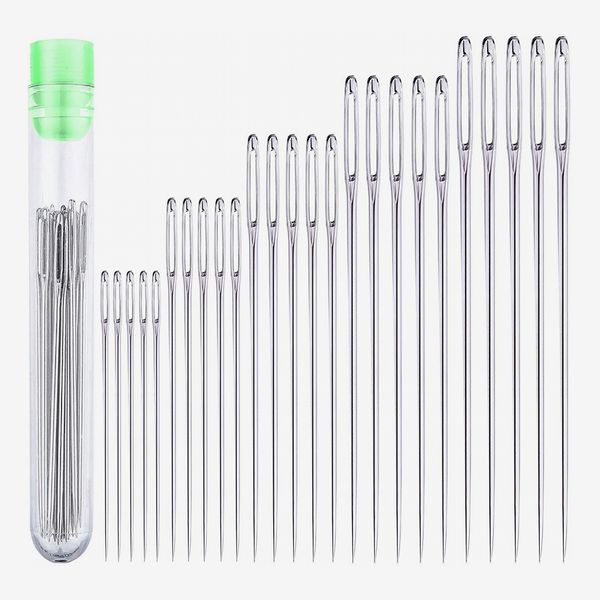
These large-eye needles are easier to thread, and the set comes with a variety of different sizes — and plenty of backups if you lose or break one.
How to patch a hole in your jeans
Jeans typically tear in places where there’s consistent friction, which often means where your thighs rub together or at the corner of your back pocket from an overstuffed wallet or sharp phone case. This is especially the case with stretch denim. The more stretch in your fabric, the more likely they are to rip. The good news is that patched up jeans look cool; some people even pay a lot of money to buy them that way. To fix a hole you’ll need a swatch of fabric that extends beyond the hole at least two inches all the way around. You can use anything really, but Wolf recommends using a similar weight denim to the jeans you are fixing because it will blend in better but mostly because it will wear more evenly. (If you’re patching stretch denim, be sure to use stretch denim.) First, put your patch fabric behind the hole and use a simple running stitch to sew a rectangular border that will hold it in place. Then, using a whip stitch (a stitch that circles the edge of a fabric, or a zig zag on a sewing machine), sew around the hole and through the patch enclosing the frayed edges in thread to prevent it from fraying more.
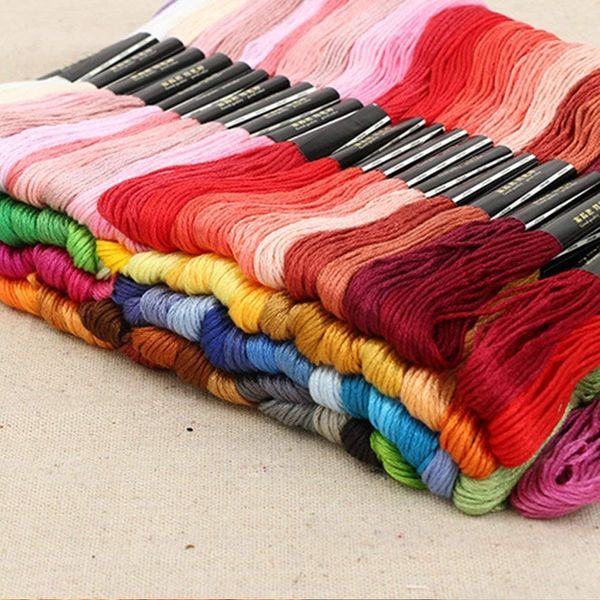
For beginners sewing by hand (especially near-sighted ones), Wolf says thicker embroidery thread can be an easier experience. And it gives an attractive sashiko-inspired look to your repair job.
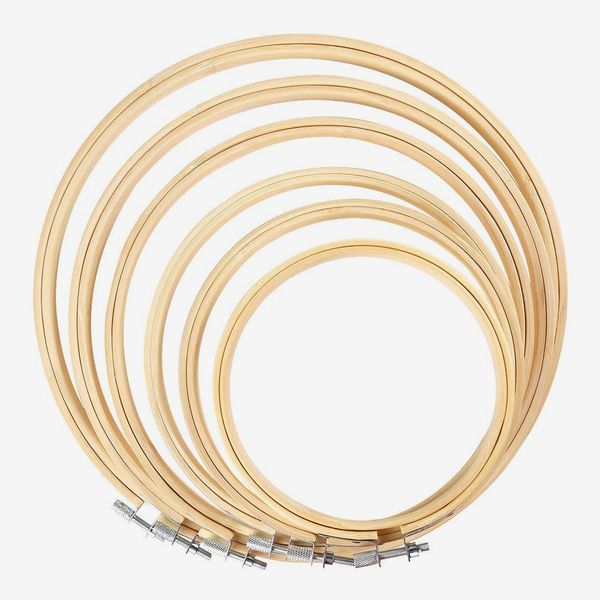
These nifty wooden rings keep your fabric taut while you sew by hand, lessening the chance of accidentally sewing the leg of your jeans shut.
These iron-on denim patches have heat-sensitive glue on the back. Still, Wolf says you definitely want to stitch them on first, so they don’t eventually wear off in the wash. It’s best to use a longer stitch, your needle won’t get too gummy.
How to sew a button
Whether it’s on your jacket or your coziest cardigan, the technique for sewing on a button remains pretty much the same. If some of the old thread is still attached, use that as your placement guide. If not, start by lining up the corresponding buttonhole over the area where your button was lost, then use your blue or white pencil to mark a dot in the center of the hole on the other fabric where your new button will go. If the button has two holes, they will line up vertically with the dot in between. If it has four holes the dot will go in the center. Your goal is to create strong stitches without sewing the button on too tightly, otherwise it will be hard to use.
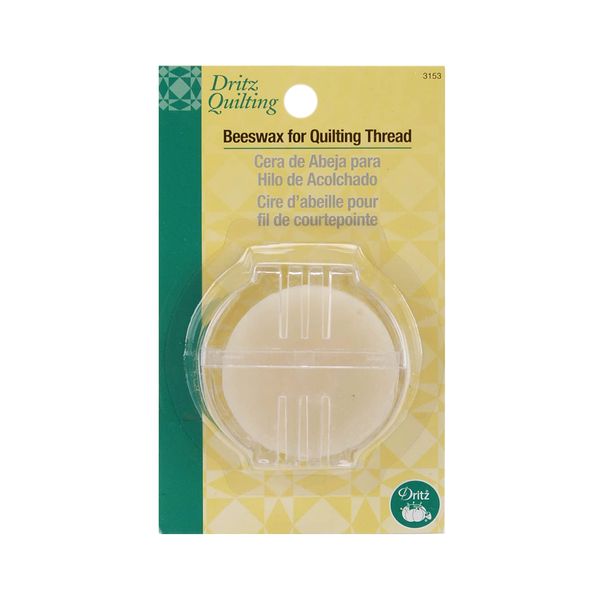
Because threads can easily get knotted up while sewing buttons, Wolf recommends running your thread through beeswax before getting started. This will make it a little bit slippery and less likely to snag.
Start at the front of your fabric leaving a tail of approximately two inches of thread. Sew about five stitches front to back over the dot you made, and end by bringing your needle back to the front. Tie the two ends of thread together making a knot. Next, thread your needle through the first buttonhole, making sure it is positioned correctly over the knot you just made. To create the right amount of slack, place a toothpick on top of your button and sew over it, through the buttonholes, and back through the fabric where you started. Repeat this another five to ten times (alternating for two-hole buttons and crisscrossing for four-holes), ending with your needle at the back of your fabric. Remove the toothpick and bring your needle through the fabric but not through the button. Pull your button away from the fabric so the slack is in between the two. Wrap your needle around the slack threads several times to create a sort of collar or shank. Then take your needle and sew several stitches into the fabric at the base of the threads. Then tie thread on your needle to the original tail thread and you’re all done.
The Strategist is designed to surface the most useful, expert recommendations for things to buy across the vast e-commerce landscape. Some of our latest conquests include the best acne treatments, rolling luggage, pillows for side sleepers, natural anxiety remedies, and bath towels. We update links when possible, but note that deals can expire and all prices are subject to change.

