When we talked to designers and havers of great taste for our story on 31 Low-Lift Home Improvements for Under $100, Barbara Schmidt, creative director of Studio Bstyle, was a big proponent of the dimmer switch. It provides “instant sophistication,” she says. “Lighting is the great special effect that changes everything in a room.” And it’s easy to install yourself. Even a first-timer can expect to install a dimmer switch in fewer than 30 minutes — with no trips to the emergency room. Here’s our guide to the tools you’ll need, what you need to know, dimmer options, and how to install your new switch.
Get Your Tools
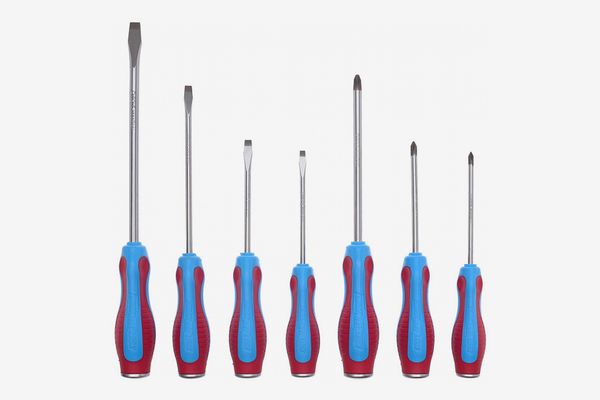
You need a flat-head screwdriver for the screws that secure the decorative plate to the wall, and a Phillips-head screwdriver for the screws that hold the switch to the electrical box. This solid seven-piece set includes multiple sizes of both types of screwdrivers. They’re magnetic, which you’ll appreciate when you see the tiny size of the screws in the plastic wall plate, and made in the USA.
If you want to spend a little less money and save some space in your tool drawer, get a screwdriver base with interchangeable tips. It’s not as strong as a one-piece screwdriver, but you won’t need to worry about that until you start building deck furniture.
Sperry’s voltage tester is small and lightweight and easy to use. Just push the button and hold it against the thing you’re worried might be getting power. If it lights up, go back to the circuit breaker and try again.
Do Some Recon
Before you start shopping for a dimmer switch, do a little recon. Head to the room with the light you want to dim. If only one switch controls the light, you need a standard single-pole dimmer. If two switches control the same light (say one at the top of the stairs and one at the bottom), that calls for a three-way unit. Next, take a look at the type of light bulb the switch will control. Incandescent and halogen lighting work with most dimmers, but if you’ve updated to more environmentally friendly CFL or LED bulbs, they can flash or buzz — and generally drive you crazy — if you buy the wrong switch. (Especially if they’re not specifically labeled as dimmable bulbs.) The dimmer’s packaging will confirm that it works for the bulbs you have.
Pick Your Switch
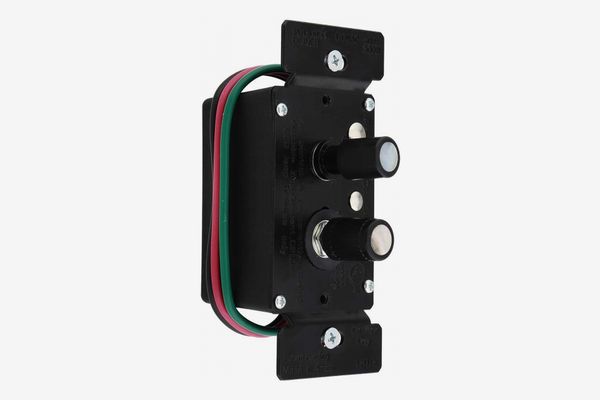
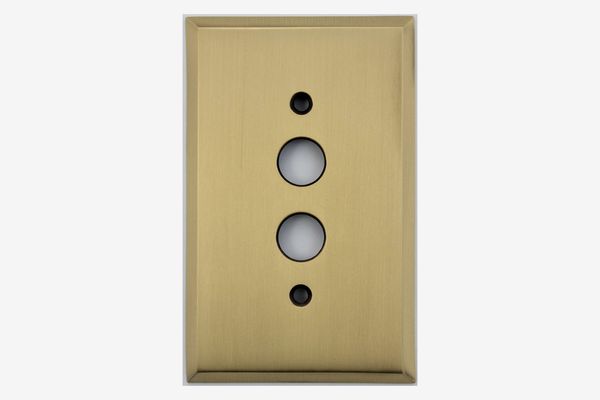
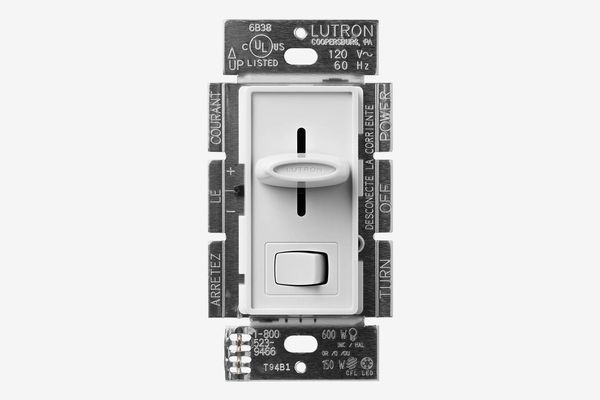
Schmidt likes this single-pole push-button switch with mother-of-pearl detail for vintage-style homes, and recommends pairing it with a traditional-looking brass cover. It works with most types of bulbs.
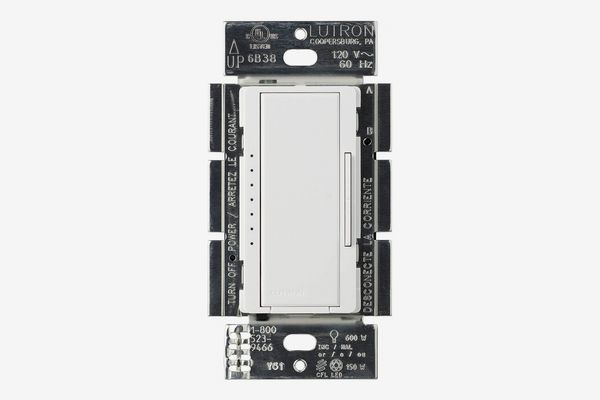
This more modern-looking option can handle single- or three-pole setup and comes in 25 different colors, in case you want to match your paint or wallpaper.
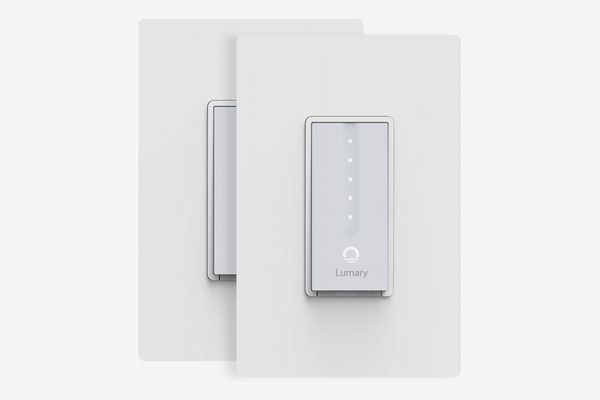
If you are the kind of person who wants to dim your lights with your voice, this universal switch works with Amazon Alexa and Google Home (or your finger). You can get the price down to $21 if you buy a two-pack and use the 10 percent off instant coupon.
These sleek touch plates are activated with simple taps. They work with most bulbs and setups.
How to Install Your New Dimmer
When you have your switch and are ready to work, the first step is cutting power to the light. Go to your circuit panel and flip the breaker that corresponds to the room you’re working in. Test the light switch to make sure the light no longer goes on, then double-check the outlet with a voltage tester.
You’re ready to install your switch. Here’s how:
Step 1: Most light switches are covered with plastic decorative plates. Use a flat-head screwdriver to remove the screws holding it in place. When you lift the plate off you’ll see two screws holding the switch itself against the electrical box. Remove them with a Phillips-head screwdriver.
Step 2: The wires that attach to the switch are thick and don’t move easily. Gently stretch them by pulling the switch away from the wall, giving yourself a little room to work. In most cases, the wires are connected to the switch in one of two ways: They might be held down by screws on the sides of the switch, or twisted to the ends of wires coming out of the switch and secured with wire caps (little plastic cones that hold and protect the wires).
Step 3: Here’s where it matters what kind of switch you have. If it’s a single-pole switch, there will be three wires coming out of the wall (typically red, black, and green). You can separate the wires from the old switch — either by loosening the screws on the old switch or by unscrewing the wire caps — and skip to the next step.
If you have a three-way switch, there will be four wires (typically red, black, green, and striped, but don’t worry if yours are different). Locate the wire that is connected to the black screw on the old switch. That’s the hot wire, which carries electricity to the switch. Mark it with a piece of tape, then disconnect the wires.
Step 4: It’s time to connect the wires from the new switch to the wires in the wall.
SINGLE-POLE SWITCH: This video shows the process. (You can ignore the part about cutting off the ends of the wires. If you need to straighten them, just do it with a pair of pliers.) Connect the green wire from the switch to the green wire in the wall. Your dimmer will probably use a wire cap to do this. (If there is less than a half-inch of bare wire showing, expose more using a wire stripper.) Line up the exposed parts of both wires, put the cap over them, then twist until the cap is tight. Gently pull on each wire to make sure they don’t come out, then wrap them with a couple loops of electrical tape. Connect the other two wires. It doesn’t matter which connects to which.
THREE-WAY SWITCH: This part of the video focuses on the three-way switch. Connect the green wires first. Then connect the two red wires from the new switch with the two wires you did not mark with tape. (It doesn’t matter which connects to which.) Finally, connect the black wire from the switch with the wire you marked with tape.
Step 5: Ease all the wires back into the hole and then slide the switch in after them. This can get annoying, since the wires are thick and there’s not a lot of room in the box; so if you need to, gently push the wires in with your screwdriver.
Step 6: Screw the switch back into the electrical box.
Step 7: Put the plate back in place and put the screws back in. If the switch does not align with the plate, just take the plate off, loosen the screws on the switch, then slide the switch a bit to either side, tighten the screws, and try again.
Step 8: Turn the power back on.
The Strategist is designed to surface the most useful, expert recommendations for things to buy across the vast e-commerce landscape. Some of our latest conquests include the best acne treatments, rolling luggage, pillows for side sleepers, natural anxiety remedies, and bath towels. We update links when possible, but note that deals can expire and all prices are subject to change.
